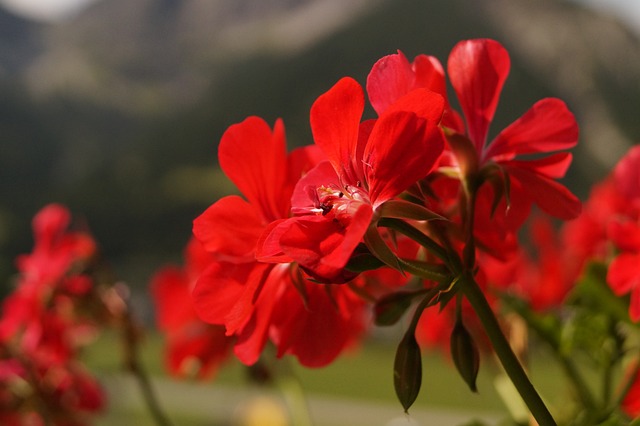
Introduction to Geranium Propagation
Geraniums are a favourite among gardeners with their vibrant blooms and robust growth. These versatile plants add beauty to any garden and offer the joy of propagation, allowing you to expand your collection easily. This comprehensive guide will delve into the best practices for propagating geraniums from cuttings and leaves, as well as how to plant them after winter storage. Whether you’re a novice or an experienced gardener, these tips will help you succeed in growing healthy, thriving geraniums.


How to Propagate Geranium Cuttings
Propagating geraniums from cuttings is one of the most popular and effective methods. This technique ensures that the new plants retain the characteristics of the parent plant, providing consistent results.
Step-by-Step Guide:
1. Select Healthy Stems:
– Choose a healthy, non-flowering stem from the parent geranium plant. The stem should be about 4-6 inches long and free from disease or pests.
2. Cut the Stem:
– Using a clean, sharp knife or scissors, make a clean cut just below a node (the point where leaves attach to the stem). Remove the lower leaves, leaving a few at the top.
3. Prepare the Cutting:
– Allow the cutting to sit for a few hours to form a callus over the cut end. This step helps prevent rot when the cutting is planted.
4. Plant the Cutting:
– Dip the cut end of the stem in rooting hormone to encourage root development. Plant the cutting in a pot filled with well-draining soil, such as a mix of perlite and peat moss.
5. Water and Cover:
– Water the cutting lightly and cover the pot with a plastic bag or a clear plastic container to create a humid environment. This helps retain moisture and promotes rooting.
6. Place in Indirect Light:
– Position the pot in a location with bright, indirect light. Avoid direct sunlight, which can scorch the cutting.
7. Monitor and Maintain:
– Keep the soil moist but not soggy. After a few weeks, check for root development by gently tugging on the cutting. If you feel resistance, roots have formed.
How to Propagate Geraniums from Leaves
Propagating geraniums from leaves is less common but can be equally rewarding. This method requires patience and careful attention to detail.
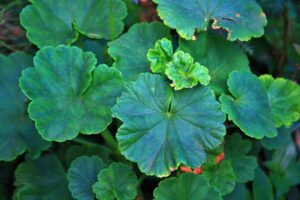
Step-by-Step Guide:
1. Select Healthy Leaves:
– Choose a healthy, mature leaf from the parent plant. The leaf should be free from disease or damage.
2. Cut the Leaf with a Petiole:
– Using a clean, sharp knife, cut the leaf along with a small portion of the petiole (the stalk that connects the leaf to the stem). Ensure the cut is clean and precise.
3. Prepare the Leaf Cutting:
– Allow the leaf cutting to dry for a few hours to form a callus over the cut end. This helps prevent rot.
4. Plant the Leaf Cutting:
– Fill a small pot with a well-draining soil mix. Insert the cut end of the leaf into the soil, burying the petiole. Ensure the leaf itself is not in contact with the soil to prevent rot.
5. Water and Cover:
– Water the soil lightly and cover the pot with a plastic bag or clear container to create a humid environment.
6. Place in Indirect Light:
– Place the pot in a bright, indirect light location. Avoid direct sunlight to prevent scorching.
7. Monitor and Maintain:
– Keep the soil moist but not waterlogged. It may take several weeks for roots to develop. Be patient and check periodically for root growth by gently tugging on the leaf.
How to Plant Geraniums After Winter Storage
Overwintering geraniums is a common practice to protect them from cold weather. Properly planting them after winter storage is crucial for their survival and growth.
Step-by-Step Guide:
1. Inspect and Clean:
– Remove the geraniums from storage and inspect them for any signs of disease or damage. Trim away any dead or damaged leaves and stems.
2. Rehydrate the Roots:
– Soak the roots in lukewarm water for a few hours to rehydrate them and prepare them for planting.
3. Prepare the Soil:
– Choose a well-draining soil mix for planting. Geraniums prefer slightly acidic to neutral soil with good drainage.
4. Planting:
– Dig a hole in the garden or pot that is large enough to accommodate the geranium’s root system. Place the plant in the hole and backfill with soil, pressing gently to remove air pockets.
5. Water Thoroughly:
– Water the newly planted geraniums thoroughly to help settle the soil and eliminate any air pockets around the roots.
6. Gradual Sun Exposure:
– Gradually acclimate the geraniums to outdoor conditions by placing them in a shaded area for a few days and then gradually moving them to a sunnier location.
7. Regular Maintenance:
– Continue to water the geraniums regularly, ensuring the soil remains moist but not waterlogged. Fertilize every few weeks with a balanced, water-soluble fertilizer to promote healthy growth and vibrant blooms.
Tips for Successful Geranium Propagation and Planting
– Use Clean Tools:
– Always use clean, sharp tools to make cuts and prevent the spread of disease.
– Choose Healthy Parent Plants:
– Start with healthy, disease-free parent plants to ensure the best chances of successful propagation.
– Monitor Moisture Levels:
– Overwatering can lead to root rot, while underwatering can prevent root development. Keep the soil consistently moist.
– Provide Adequate Light:
– While cuttings and new plants need bright, indirect light, mature geraniums thrive in full sun to partial shade.
– Protect from Pests:
– Look for common pests such as aphids and spider mites. Treat infestations promptly with appropriate organic or chemical controls.
Conclusion
Propagating geraniums is a rewarding process that allows you to expand your garden with minimal cost and effort. Whether you choose to propagate from cuttings, leaves, or plants after winter storage, following these detailed steps will help ensure your success. With proper care and attention, your geraniums will flourish, bringing vibrant colour and beauty to your garden year after year.

